

Before repairing a flexible bumper, assess damage (cracks, dents), take photos, gather tools (putty knife, body filler, sandpaper, primer, paint), prepare a clean workspace, and choose between replacement or repair. The latter involves 6 steps: inspect, apply heat/massage, stretch, cool, re-inspect, ensuring a secure, cost-effective, and aesthetic restoration using flexible bumper repair techniques.
Are you tired of a stiff and damaged car bumper? Learn how to restore your vehicle’s flexibility with our comprehensive guide. This article walks you through the process, from assessing damage to preparing for repair, ensuring you make an informed decision. Discover the options between replacement and restoration, then master the step-by-step process to revive your car’s exterior. Embrace a flexible bumper repair solution tailored to your needs.
- Assessing Damage and Preparing for Repair
- Replacement or Restoration: Flexibility Options
- Step-by-Step Guide to Restoring Bumper Flexibility
Assessing Damage and Preparing for Repair

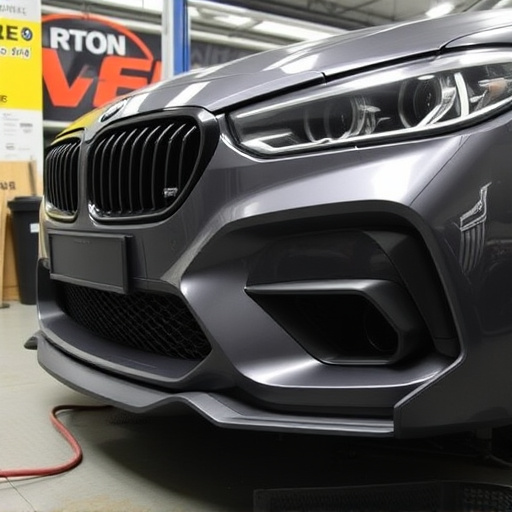
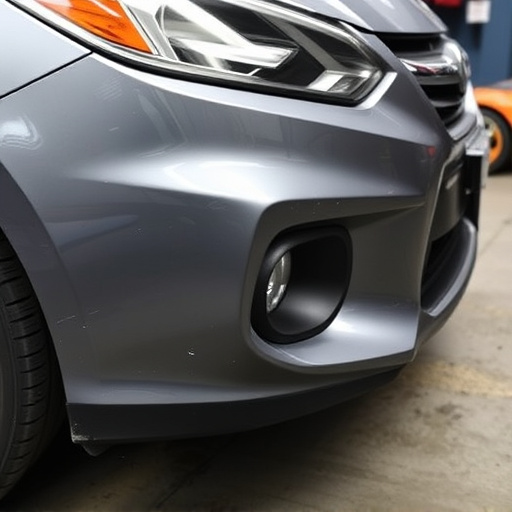
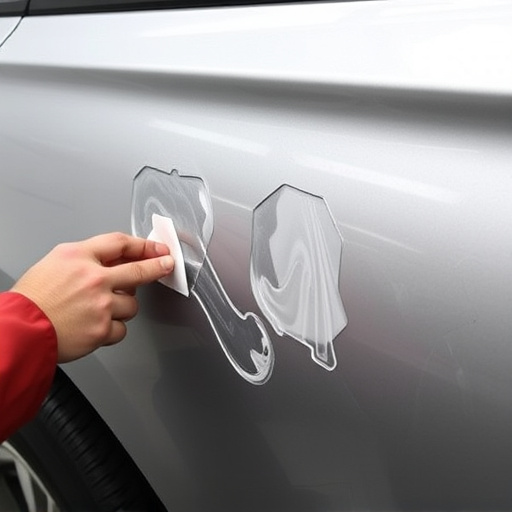
Before attempting any flexible bumper repair, it’s crucial to thoroughly assess the damage. Start by inspecting the bumper for cracks, dents, or any signs of deformation. Flexibility is a key indicator—if your bumper has lost its springiness and now feels stiff or cracked, it needs attention. Take photos of the damaged area from different angles; this visual documentation will be helpful when you consult with a professional or seek replacement parts.
Preparation for the repair involves gathering necessary tools and materials, including a putty knife, body filler (if needed), sandpaper, primer, and paint that matches your vehicle’s color—in our case, Mercedes Benz models require specific attention to detail due to their meticulous design. Ensure your work area is clean and well-lit; consider removing the bumper to gain better access, especially if you’re addressing deep dents or extensive damage. This initial preparation stage sets the foundation for a successful flexible bumper repair.
Replacement or Restoration: Flexibility Options
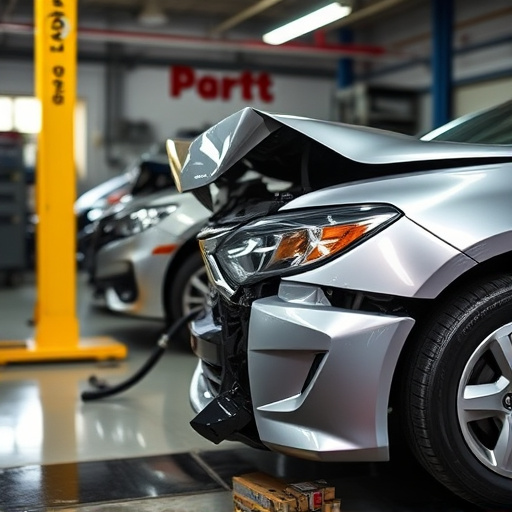
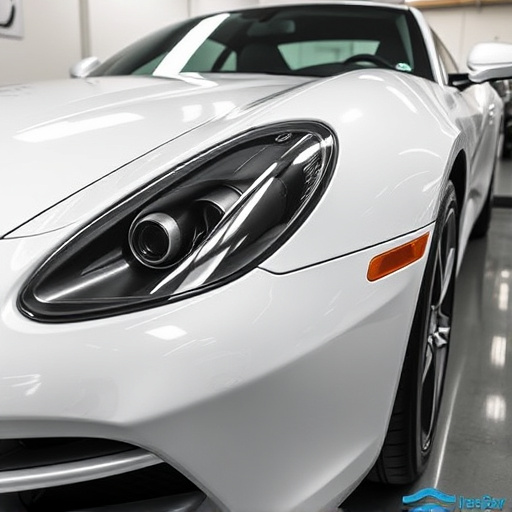
When considering how to restore the flexibility of your car’s bumper, there are two primary options: replacement or restoration. Replacing the bumper involves removing the damaged part and installing a new one, which is often the go-to solution for severe dents or extensive damage. However, this method can be costly, especially if you’re dealing with a specialized or high-end model.
On the other hand, flexible bumper repair focuses on restoring the original component’s integrity through specialized techniques like painting, patching, and realignment. This option is more affordable and eco-friendly since it reduces waste by repurposing the existing bumper. Effective dent repair methods can return your bumper to its former flexibility, ensuring optimal vehicle aesthetics and performance in auto maintenance. Vehicle restoration enthusiasts often prefer this approach for its ability to preserve the car’s original state while offering significant cost savings compared to complete replacement.
Step-by-Step Guide to Restoring Bumper Flexibility

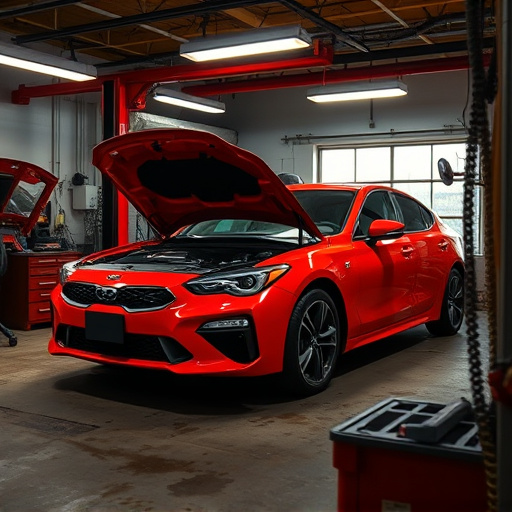
Restoring the flexibility of your car’s bumper after a fender bender or minor impact is a straightforward process that can be accomplished with the right tools and techniques. Here’s a step-by-step guide to help you achieve this:
1. Inspect and Prepare: Begin by thoroughly inspecting the damaged area. If there are any loose parts, secure them temporarily. Clean the bumper using mild soap and water to remove dirt or debris. Ensure the surface is dry before proceeding.
2. Heat Application: Flexible bumpers often become stiff due to temperature changes. Use a heat gun or hairdryer set on low heat to warm up the bumper gently. Focus on the areas that have lost their flexibility. The heat helps relax the rubber and plastic components, making them easier to work with.
3. Massage and Stretch: Using your hands or a soft tool, carefully massage and stretch the warmed bumper. Start at one end and gradually move towards the other, applying gentle pressure. This action helps release any built-up tension and restores the bumper’s natural flexibility.
4. Use of Flexing Tools (Optional): For more stubborn cases or to achieve precise adjustments, automotive flexing tools can be employed. These tools are designed to apply controlled pressure and bend the bumper back into shape without causing further damage.
5. Allow Cooling: After you’ve adjusted the bumper to its desired flexibility, let it cool down gradually. Avoid sudden temperature changes by allowing it to air dry or using a fan for a gentle cooling process. Once cooled, check for any new issues before considering it restored to full functionality.
6. Final Touches and Inspection: Finally, give your bumper a once-over to ensure all components are securely in place. Check for any loose parts that may have been dislodged during the repair process. With these steps, you’ll have successfully restored the flexibility of your car’s bumper, potentially saving you time and money on vehicle collision repair, as well as finding an auto repair near you that suits your needs.
Restoring your car’s bumper flexibility is not only a practical fix but also ensures your vehicle maintains its aesthetic appeal. By following the step-by-step guide and considering either replacement or restoration, you can effectively address damaged bumpers. With the right tools and materials, flexible bumper repair allows you to get back on the road with a safe and visually pleasing finish.