
Flexible bumper repair kits empower DIYers to address minor to moderate damage, including dents and scratches, using specialized tools for priming, sanding, and coating. For severe cases, professional guidance is advised. Successful repairs enhance vehicle aesthetics and preserve its value through tailored restoration techniques.
Discover the ultimate solution for repairing your damaged car bumpers with our comprehensive guide to flexible bumper repair kits. Learn how to navigate and understand common bumper issues, unbox your kit like a pro, and follow a simple step-by-step process to restore your vehicle’s front line of defense. With the right tools and knowledge, you’ll be well-equipped to tackle flexible bumper repairs efficiently and effectively.
- Understanding Flexible Bumper Damage and Repair
- Unboxing Your Flexible Bumper Repair Kit
- Step-by-Step Guide to Effective Bumpers Repairs
Understanding Flexible Bumper Damage and Repair
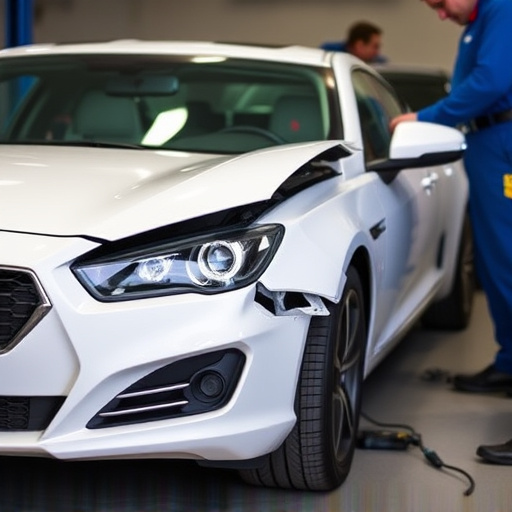
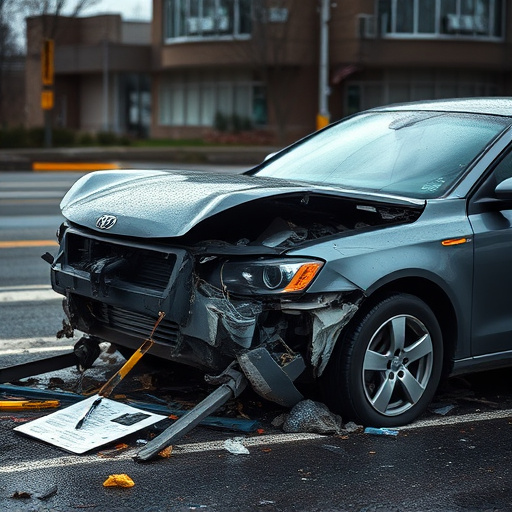
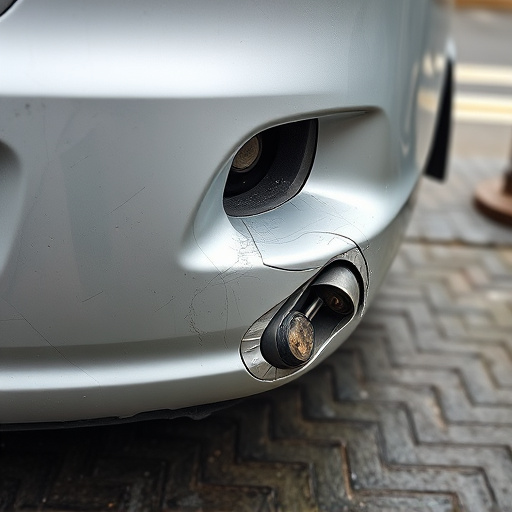
Flexible bumper damage can range from minor scuffs and dents to more severe cracks and deformities. Identifying the extent of the issue is crucial before attempting any repair. Luckily, flexible bumper repair kits are designed to cater to various levels of damage, making vehicle paint repair accessible for both professional auto body repairs and DIY enthusiasts.
These kits often include all necessary tools and materials for straightforward fixes, such as removing damaged parts, applying primer, and re-painting to match the vehicle’s original finish. For more complex cases involving structural integrity issues or extensive auto body repair, seeking professional guidance is advisable. Properly executed flexible bumper repairs not only enhance the aesthetic appeal but also contribute to a complete vehicle restoration.
Unboxing Your Flexible Bumper Repair Kit

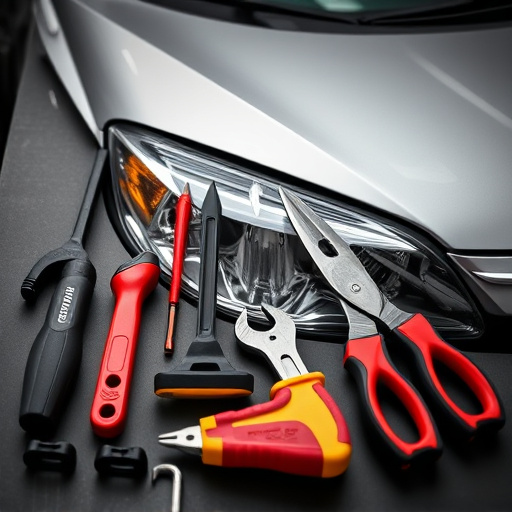
Unboxing your Flexible Bumper Repair Kit is an exciting step in taking control of your car’s aesthetics and maintaining its value. The kit usually arrives neatly packaged, ensuring all components are secure during transit. Upon opening, you’ll find a well-organized collection of tools and materials specifically designed for flexible bumper repairs. This includes a range of specialized adhesives, fillers, primers, and applicators tailored to match the make and model of your vehicle.
Carefully inspect each item, familiarizing yourself with their functions and ensuring they meet your luxury vehicle repair needs. The flexibility of these kits allows you to address minor dents, scratches, or bumps without the need to visit a traditional vehicle body shop. With the right tools at hand, you’re now equipped to enhance your car’s bodywork and restore it to its former sleekness.
Step-by-Step Guide to Effective Bumpers Repairs

Reparing your car’s bumpers doesn’t have to be a daunting task. With the right tools and a systematic approach, you can achieve professional results using a flexible bumper repair kit. Here’s a step-by-step guide:
1. Safety First: Ensure your work area is well-lit and clear of debris. Put on safety goggles and gloves before handling any materials to protect yourself from sharp edges and chemical exposure.
2. Inspect the Damage: Carefully assess the extent of the bumper damage. Identify cracks, dents, or holes that require repair. This will help you determine the specific components needed from your flexible bumper repair kit.
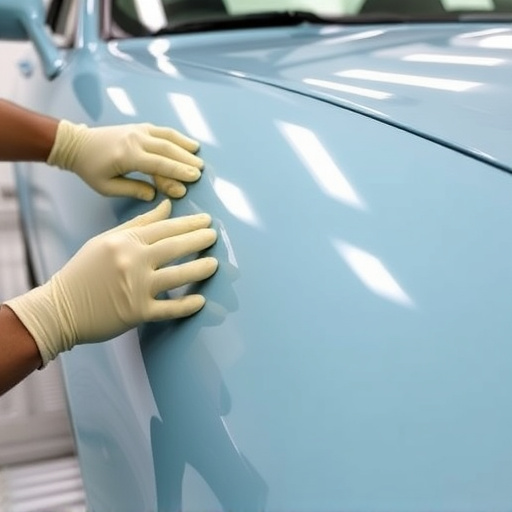
3. Prepare the Surface: Clean the damaged area thoroughly using a degreaser to remove any dirt, grease, or old residue. Sand the surface slightly if necessary, creating a rough texture for better adhesion.
4. Apply Primer: Use an automotive primer designed for flexible materials from your kit. Apply an even coat over the prepared bumper surface. This step is crucial as it prepares the area for successful bonding.
5. Patch and Shape (if needed): If there are holes or deep dents, use the flexible repair putty to fill them. After allowing it to set slightly, shape the putty to match the bumper’s contour using a plastic scraper or your fingers.
6. Smoothen and Sand: Once the putty is fully cured, gently sand the repaired area with fine-grit sandpaper to ensure a smooth finish that blends seamlessly with the rest of the bumper.
7. Apply the Flexible Coat: Finally, apply the flexible coating from your kit over the repaired surface. This will provide durability and protection against future damage, matching the bumper’s flexibility and color.
Flexible bumper repair kits offer a convenient, cost-effective solution for minor to moderate bumper damage. By understanding your kit, unboxing it thoroughly, and following a structured step-by-step guide, you can effectively restore your vehicle’s aesthetic appeal and protect its value. With the right tools and guidance from this ultimate guide, flexible bumper repair is accessible to everyone, ensuring you’re prepared for unexpected fender benders.