


Assess the extent of flexible bumper damage (DIY for minor dents, seek professionals for severe bends). Gather tools, materials, and safety gear (auto bodywork tools, replacement parts, gloves, glasses). Prepare work area with stand, cloth, solvent, and consider an assistant. Sand rough edges around dents/cracks before repairing (for optimal results).
Learn how to tackle a flexible bumper repair at home with this comprehensive guide! Understanding common types of flexible bumper damage and selecting the right tools will set you on the path to success. From gathering essential materials like a heat gun, adhesive, and replacement parts to following a step-by-step process, you’ll master the art of repairing your car’s bumper efficiently. Revitalize your vehicle’s appearance with these easy-to-follow instructions for a DIY flexible bumper repair project.
- Understanding Flexible Bumper Damage and Repair Techniques
- Gathering Tools and Materials for the Job
- Step-by-Step Guide to Effectively Performing a Flexible Bumper Repair at Home
Understanding Flexible Bumper Damage and Repair Techniques
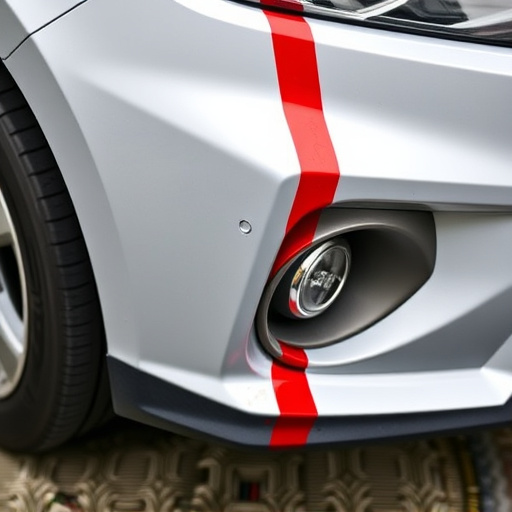
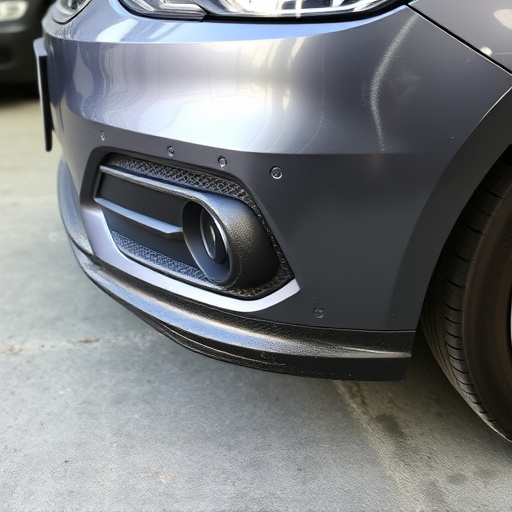
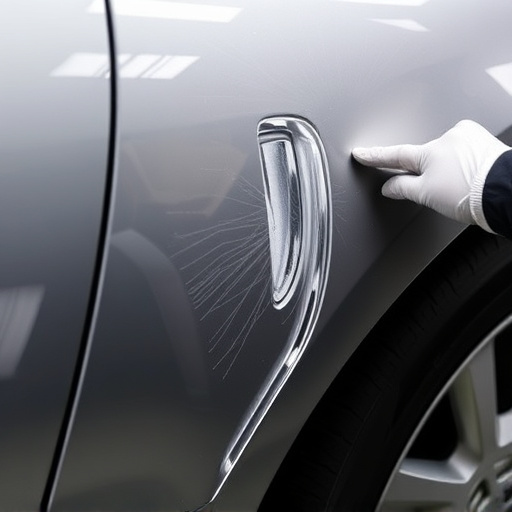
Flexible bumper damage can range from minor dents and creases to more severe twists and bends, often caused by accidents or impact with obstacles. Understanding the extent of the damage is crucial before attempting a flexible bumper repair at home. The key lies in identifying the level of deformation; shallow dents might be suitable for DIY fixes, while deeper, more complex bends may require professional body shop services.
Repair techniques vary accordingly. For simple dents and creases, using specialized tools like impact wrenches and pneumatic hammers can help straighten the bumper without causing further damage. More advanced repairs, especially involving twisted or bent metal, might demand the expertise of vehicle repair services. They employ state-of-the-art equipment and trained technicians to accurately assess and fix the issue, ensuring a seamless and durable restoration for your bumper.
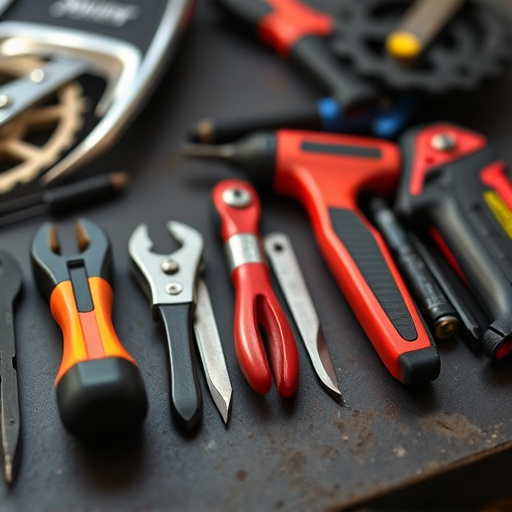
Gathering Tools and Materials for the Job

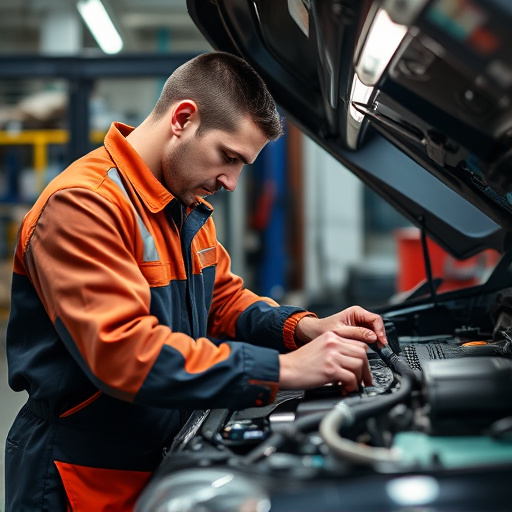
Before tackling a flexible bumper repair, ensure you have all the necessary tools and materials on hand to make the process as smooth as possible. This typically includes a variety of specialized auto bodywork tools such as pry bars, suction cups, and plastic wedges, alongside replacement parts specific to your vehicle’s model and year – often available from reputable automotive suppliers or manufacturers. Don’t forget safety gear like gloves and safety glasses to protect against debris and potential hazards during the repair process.
Proper preparation is key for a successful flexible bumper repair. Gather items like a work stand (for secure vehicle support), a clean cloth for wiping down the damaged area, and a solvent suitable for cleaning the bumper surface. Additionally, consider having a helper on hand to assist with holding parts in place or operating tools, especially during auto frame repair tasks that require precision and stability. With these essentials gathered, you’re well-equipped to begin addressing your vehicle’s damaged bumper, aiming for both aesthetic restoration and ensuring proper alignment in the broader context of auto bodywork.
Step-by-Step Guide to Effectively Performing a Flexible Bumper Repair at Home

Performing a flexible bumper repair at home can be an efficient and cost-effective solution for minor damage. Here’s a step-by-step guide to ensure a successful DIY project:
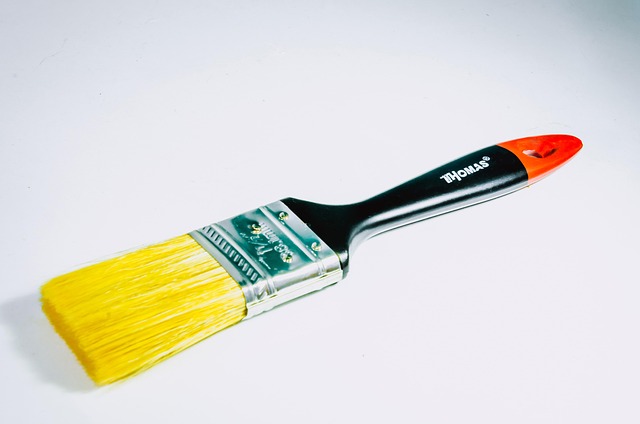
1. Gather your supplies: Before starting, collect all necessary tools and materials, including a flexible bumper repair kit (which typically includes adhesive, filler, primer, and paint), sandpaper, rubber gloves, and safety glasses. Don’t forget to clear the work area, ensuring it’s clean and free of debris for optimal results.
2. Inspect the damage: Carefully assess the extent of the bump on your bumper. If it’s a small dent or crack, you’re in good shape to repair it yourself. However, for larger damages, consider seeking professional auto detailing services or car repair shops for more complex repairs. Once satisfied with your assessment, wear protective gear and begin preparing the surface by using fine-grit sandpaper to smooth out any rough edges around the damage.
Performing a flexible bumper repair at home can be a cost-effective and efficient solution for minor damage. By understanding the type of damage, gathering the right tools and materials, and following a step-by-step guide, you can successfully restore your vehicle’s front or rear bumper to its original condition. Remember, while this DIY approach offers savings, it requires patience and precision. With the right techniques, you’ll be able to achieve a seamless repair, enhancing your vehicle’s appearance and ensuring long-lasting protection.