
Inspect your bumper for damage. Gather tools and materials for DIY repair or consult professionals for severe cases. Assess dent severity, clean, apply putty/composite, sand, prime, and paint for minor repairs. For replacements, seek fleet services or body restoration experts.
Tired of a damaged bumper holding you back? Flexible bumper repair is the solution for a quick, cost-effective fix. This guide breaks down the process into three simple steps: Assessing damage, gathering supplies, and conducting the repair. Learn how to tackle common issues like cracks, dents, and scratches without breaking the bank. Get your vehicle back on the road looking as good as new with these DIY flexible bumper repair steps.
- Assessing Damage: Inspecting Your Bumper
- Gathering Supplies: What You'll Need
- Step-by-Step Repair: A DIY Guide
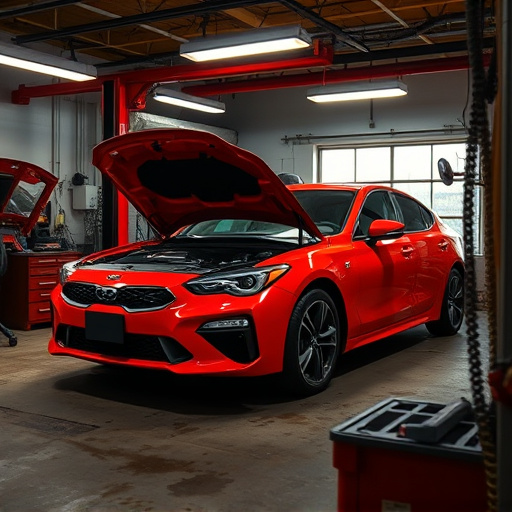
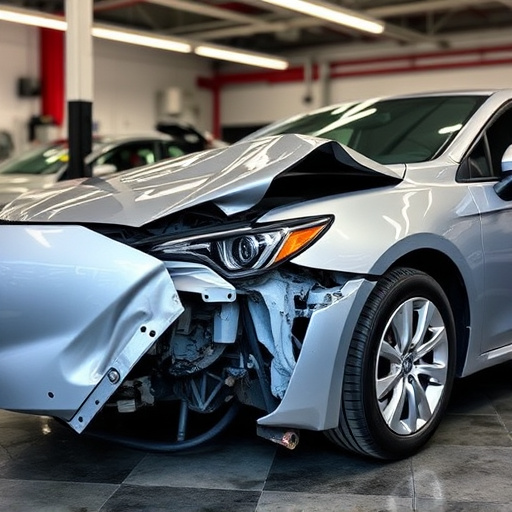
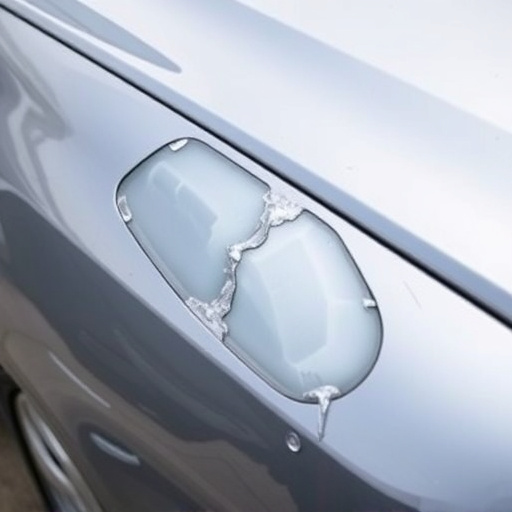
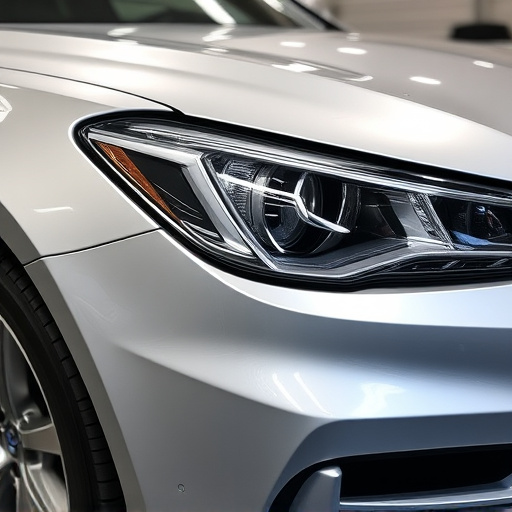
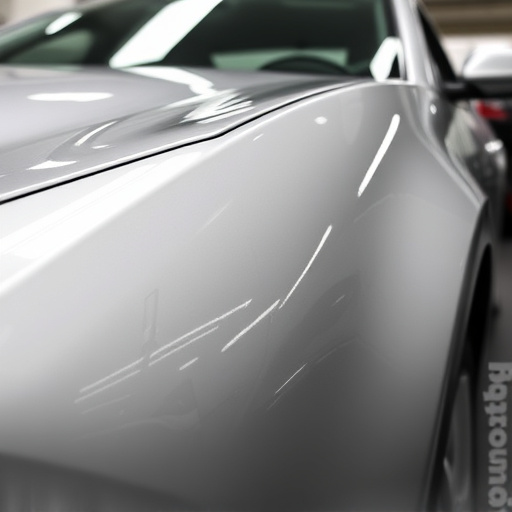
Assessing Damage: Inspecting Your Bumper
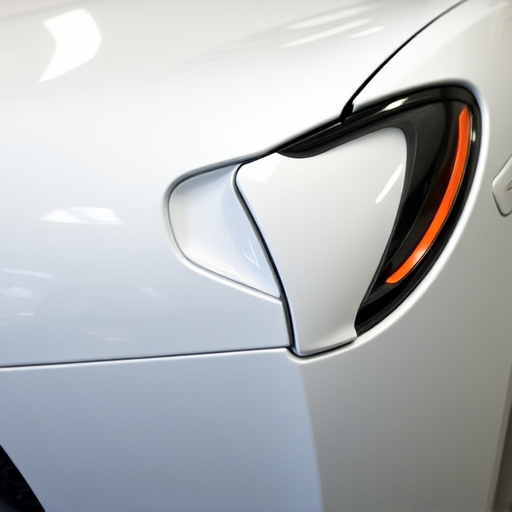
Before attempting any flexible bumper repair, it’s crucial to assess the damage and understand the extent of the work required. Start by inspecting your bumper thoroughly. Look for cracks, dents, or any signs of deformation. Check if the impact has affected the bumper’s ability to absorb shock or maintain its structural integrity. Some flexible bumpers are designed to bend slightly upon impact, which can be a good indicator of their overall condition.
Use a flashlight and a mirror to reach hard-to-see areas. If you’re dealing with a severe collision, it might be best to consult professional vehicle repair services, especially for luxury cars like Mercedes Benz collision repair, where precision and original equipment parts are essential. However, for minor bumps and dings, flexible bumper repair can be accomplished with the right tools and DIY skills.
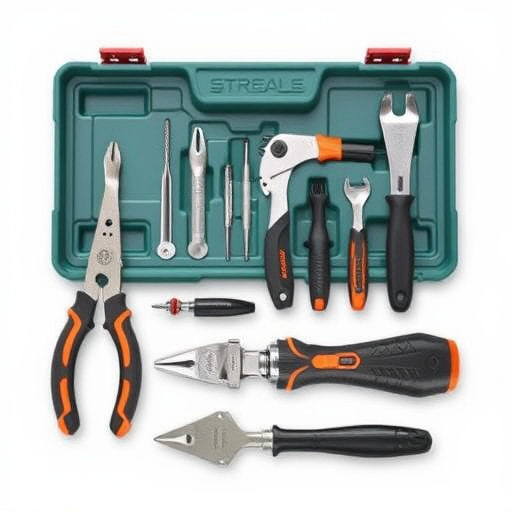
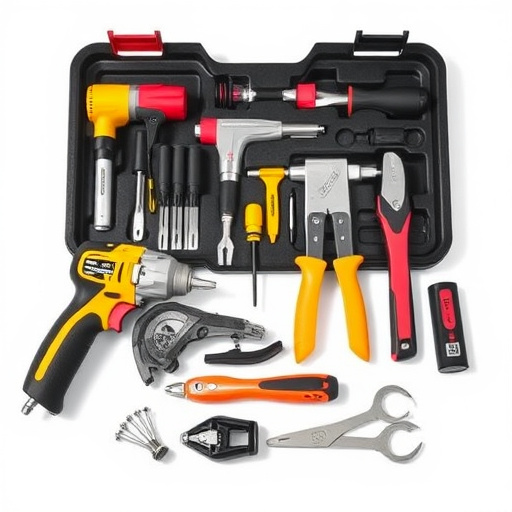
Gathering Supplies: What You'll Need
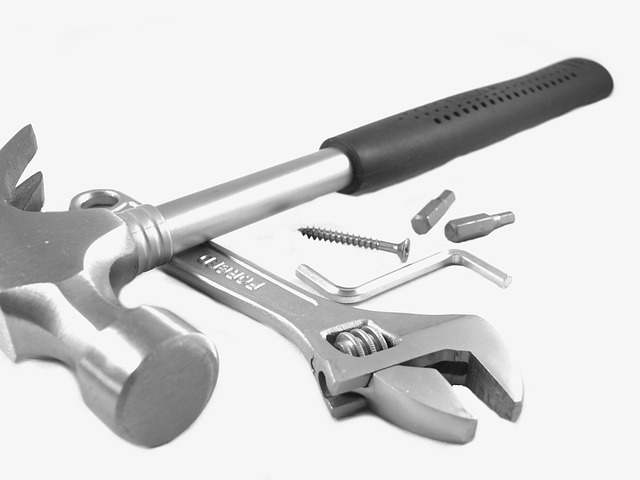
Before tackling any flexible bumper repair, it’s crucial to gather all necessary supplies. For most DIY fixes, you’ll require a few essential tools and materials, such as a dent puller, putty knife, sandpaper (both coarse and fine), auto-body primer, paint that matches your vehicle’s color, and a clear coat. Additionally, don’t forget safety gear like gloves and eye protection to shield yourself from debris and chemicals.
Choosing the right products is key to successful flexible bumper repair. Opt for high-quality dent pullers designed for plastic and soft metal to avoid damaging the bumper further. Similarly, select primer and paint specifically formulated for automotive use to ensure a durable finish that blends seamlessly with your vehicle’s existing color. Remember, proper preparation of the damaged area is paramount, making suitable tools and materials indispensable in your quest for effective and efficient vehicle dent repair.
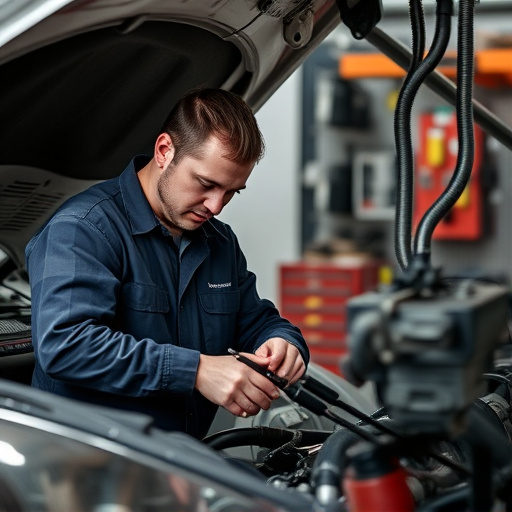
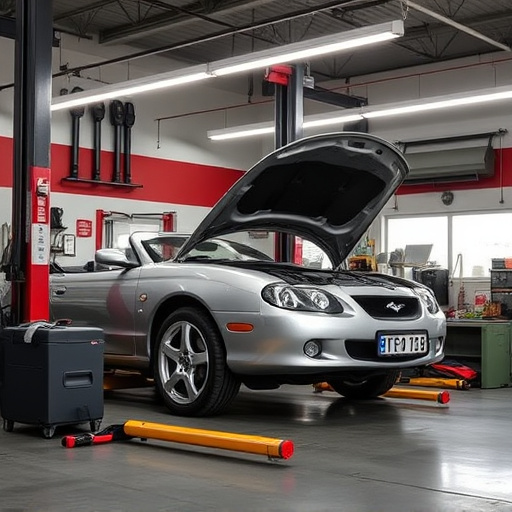
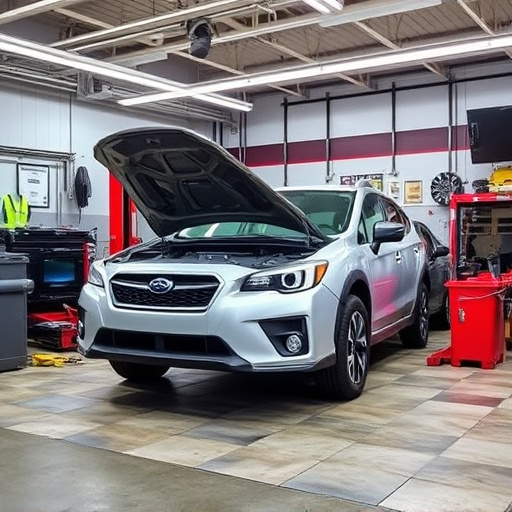
Step-by-Step Repair: A DIY Guide
When it comes to flexible bumper repair, many car owners opt for DIY solutions to save time and money. The process involves several straightforward steps that can be accomplished with the right tools and a bit of patience. Begin by assessing the damage; flexible bumpers often dent or crack in fender benders, making inspection crucial before proceeding. For minor dents, use a specialized tool to pop them out, being careful not to damage the surrounding metal. After cleaning the area, apply a suitable putty or composite material, allowing it to cure as per the product’s instructions.
Once the repair compound is dry, sand the surface smoothly and wipe away dust. Primer and paint are then applied, matching your car’s original color for a seamless finish. For more severe cases, where the bumper requires complete replacement, consider seeking assistance from fleet repair services or professional body restoration experts. These specialists have access to high-quality parts and tools, ensuring a precise and durable flexible bumper repair that can rival factory standards.
Flexible bumper repair can be a cost-effective and efficient solution for minor damage. By following these straightforward steps, you can effectively fix your bumper, saving time and money. With the right supplies and a bit of patience, you’ll have your vehicle looking like new again. Remember, proper assessment and gathering the necessary tools are key to achieving a successful DIY flexible bumper repair.