
Flexible bumper repair ranges from DIY for minor dents to professional techniques for severe damage. Essential tools include hammer, heat gun, and specialized kits. Assessment, surface prep, putty application, priming, and painting are key steps. This cost-effective method allows car owners to restore their bumpers, achieving a seamless finish with proper techniques.
Considering a DIY flexible bumper repair? You’re not alone. Flexible bumpers, known for their impact resistance, can often be damaged without major accidents. This guide breaks down everything you need to know about repairing your flexible bumper yourself. From understanding damage types to the right tools and step-by-step instructions, we’ll walk you through the process, saving you time and money. Learn how to effectively restore your bumper’s safety and aesthetics with confidence.
- Understanding Flexible Bumper Damage and Repair Techniques
- Tools and Materials Needed for DIY Flexible Bumper Repairs
- Step-by-Step Guide to Successful Flexible Bumper Restoration
Understanding Flexible Bumper Damage and Repair Techniques

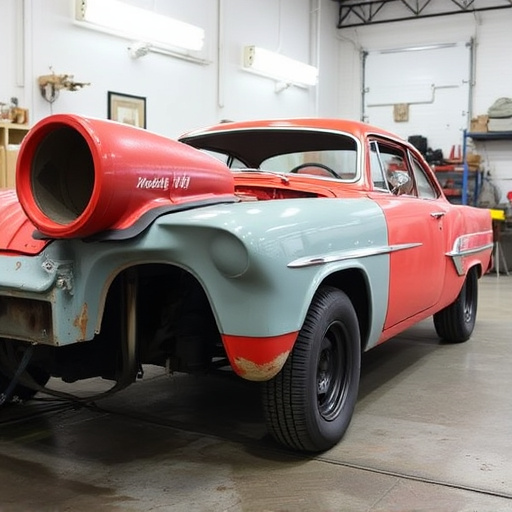
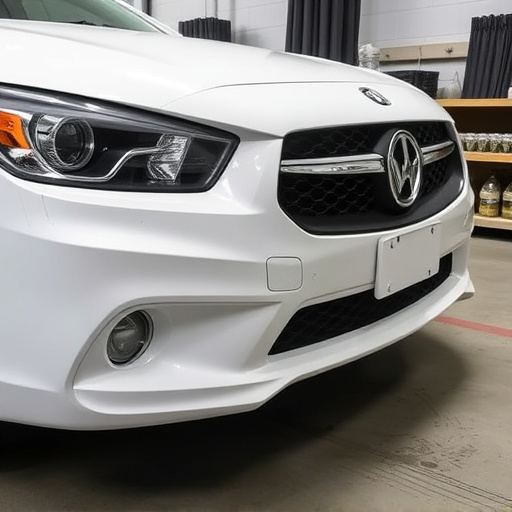
Flexible bumper damage can vary greatly, from minor dents and scratches to significant crumpling or separation. Understanding the extent of the issue is key before attempting any flexible bumper repair, DIY or professional. Different types of flexible bumpers, often made from materials like plastic or composite, require specific care and repair techniques.
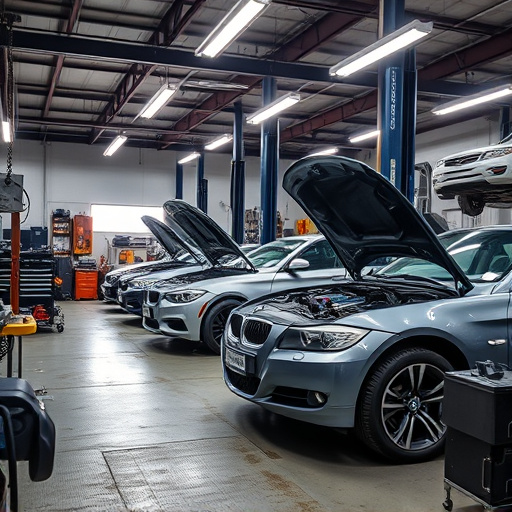
For smaller damages, such as dents or cracks, a DIY approach using specialized tools and putty can be effective. However, more severe cases involving complete separation or significant deformation usually necessitate the expertise of automotive repair professionals who have access to advanced equipment and techniques, including specialized adhesives and computer-aided restoration methods, for comprehensive car bodywork services.
Tools and Materials Needed for DIY Flexible Bumper Repairs
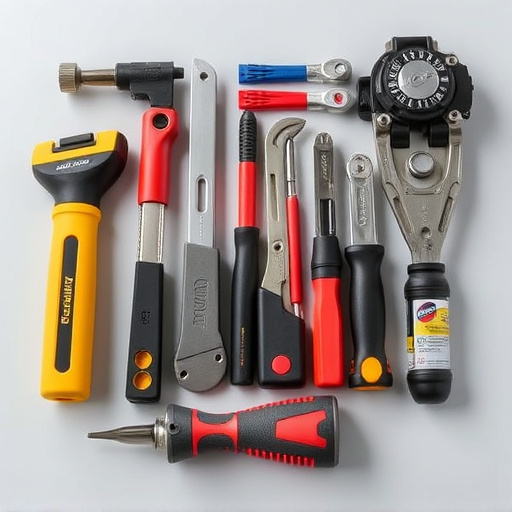
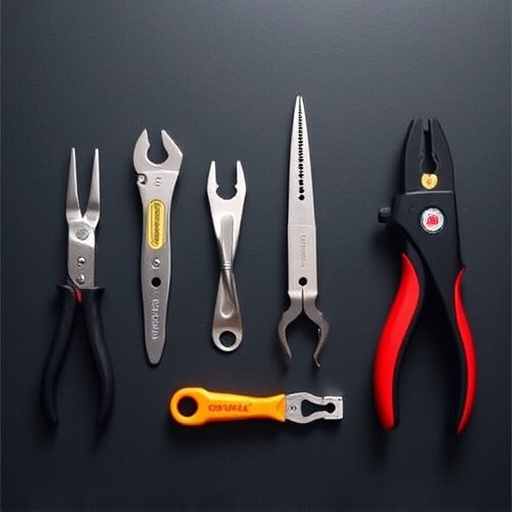
Flexible bumper repairs can be a cost-effective DIY project for those with basic automotive skills and access to the right tools and materials. Before you begin, assemble your supplies, which may include a flexible bumper repair kit specific to your vehicle’s make and model. These kits usually contain adhesive, filler material, and a shaping tool tailored to fit your car or truck’s unique contours. Essential tools for this job are a hammer, a set of pliers, and possibly a heat gun for softening the existing bumper material and making it more malleable. Additionally, have at hand sandpaper for smoothing rough edges after the repair and a paintbrush or sprayer for applying touch-up paint that matches your vehicle’s color (a key step in ensuring a seamless finish).
For successful DIY flexible bumper repairs, consider factors like surface preparation and cleanliness; using proper techniques to apply adhesive and fill in damaged areas; and achieving an even, precise finish. While it may seem daunting at first, with the right tools and materials, many vehicle owners can confidently take on this task, saving time and money compared to visiting a car body shop for collision repair.
Step-by-Step Guide to Successful Flexible Bumper Restoration

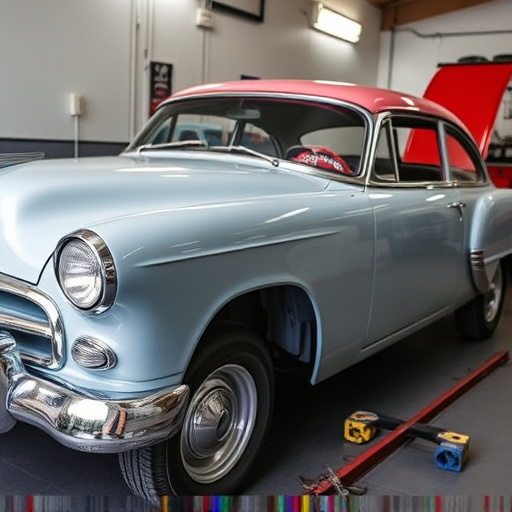
Flexible bumper repair is a skill that many car owners can learn and master with the right approach. Before tackling this DIY project, ensure you have the necessary tools and safety gear. Here’s a step-by-step guide to help you achieve successful flexible bumper restoration:
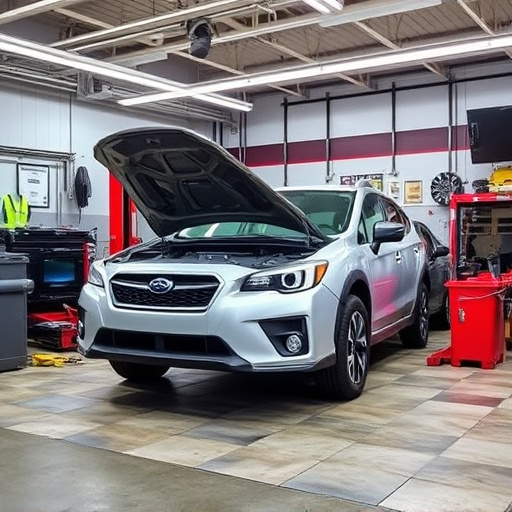
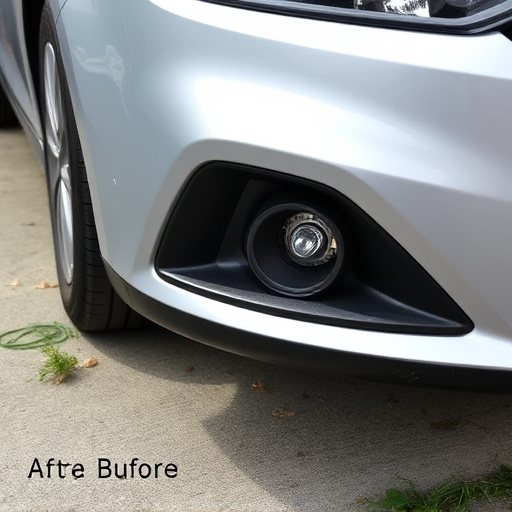
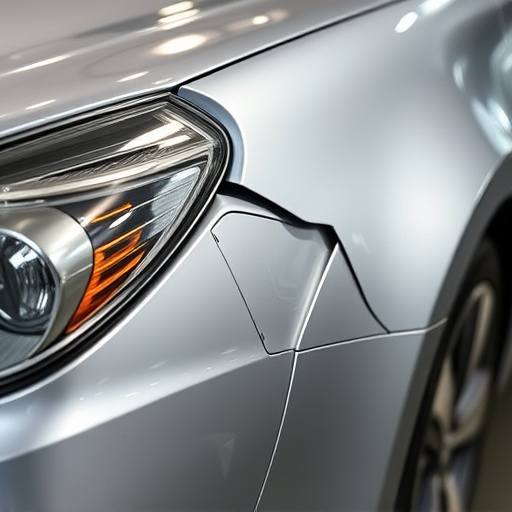
1. Assess the Damage: Begin by inspecting your bumper closely. Identify any cracks, dents, or deformities. If the damage is minimal, you might be able to complete the repair yourself using specific flexible bumper repair kits available in the market. For more severe cases, consider consulting a vehicle body shop for professional advice or assistance, especially if there are underlying structural issues.
2. Prepare the Surface: Clean and degrease the damaged area thoroughly. Remove any loose debris, dirt, or old paint that might hinder the repair process. Sanding the surface lightly can help create a smooth base for your repairs. This step is crucial to ensure proper adhesion of the new material during the restoration process.
3. Apply Repair Putty: Use a suitable flexible bumper repair putty designed to match your vehicle’s color. Apply an even layer over the damaged area, following the manufacturer’s instructions. Allow it to dry and cure as per recommended timeframes for optimal results. This step will help fill in minor dents and cracks, restoring your bumper’s original shape.
4. Sand and Prime: Once the putty is fully cured, gently sand the repaired area to ensure a smooth finish. Remove any excess putty, being careful not to disturb the newly filled areas. After sanding, clean the surface again to remove dust particles. Apply an automotive primer to prepare the bumper for painting, ensuring proper adhesion of the new paint.
5. Paint and Final Touches: Use a high-quality paint that matches your vehicle’s color and apply it in thin, even coats. Allow each coat to dry completely before applying the next. This process will help you achieve a seamless finish that blends perfectly with the rest of your bumper. After painting, inspect the repair closely, ensuring no visible damage or imperfections remain.
Flexible bumper repair can be a feasible DIY project, offering a cost-effective alternative to professional services. By understanding the damage and utilizing the right tools and materials, you can successfully restore your vehicle’s exterior. The step-by-step guide provided offers a clear roadmap for achieving a seamless repair, empowering car owners to take control of their bumper’s health. Embracing flexible bumper repair not only saves money but also fosters a sense of accomplishment and self-reliance.