


Flexible bumpers, made of composite materials, offer impact absorption in collisions. DIY repairs are possible for simple dents using kits and standard tools, but complex damage requires professional services. Home repairs involve cleaning, sanding, priming, applying composite material, and painting for a cost-effective solution.
Considering a DIY flexible bumper repair? This comprehensive guide is your go-to resource. Flexible bumpers, known for their impact absorption, can suffer damage from minor bumps and scratches. Understanding the repair process and using the right tools can save you time and money. We’ll walk you through everything from identifying common flexible bumper issues to a step-by-step repair tutorial. Equip yourself with knowledge and take control of your vehicle’s aesthetics.
- Understanding Flexible Bumper Damage and Repair Process
- Tools and Materials Needed for DIY Flexible Bumper Repair
- Step-by-Step Guide to Conducting a Successful Flexible Bumper Repair at Home
Understanding Flexible Bumper Damage and Repair Process

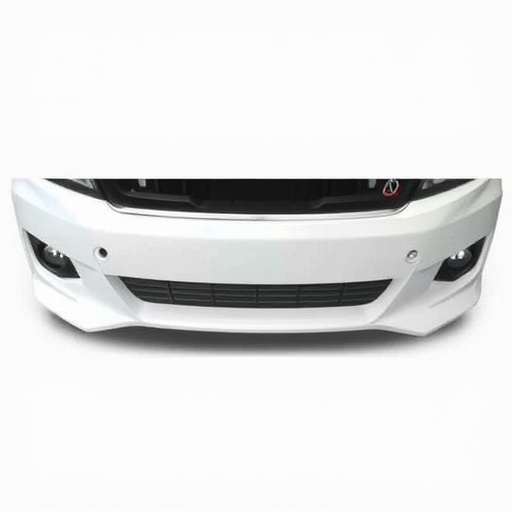
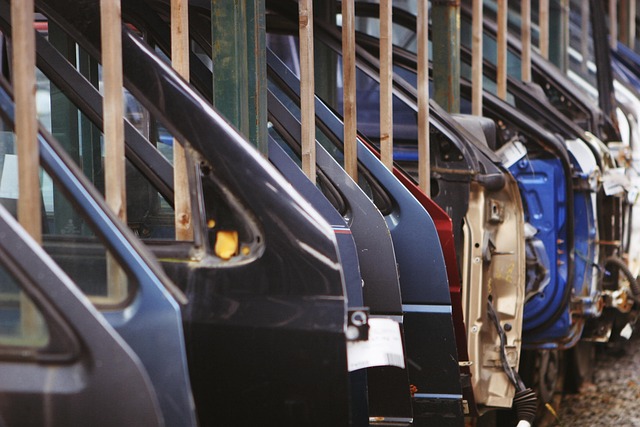
Flexible bumper damage can range from small dents to significant crumpling, often occurring due to collisions or accidental impacts. Unlike traditional metal bumpers, flexible bumpers are designed with a composite material that allows for some give and absorbence of impact energy. Understanding this material’s properties is key when considering DIY flexible bumper repair.
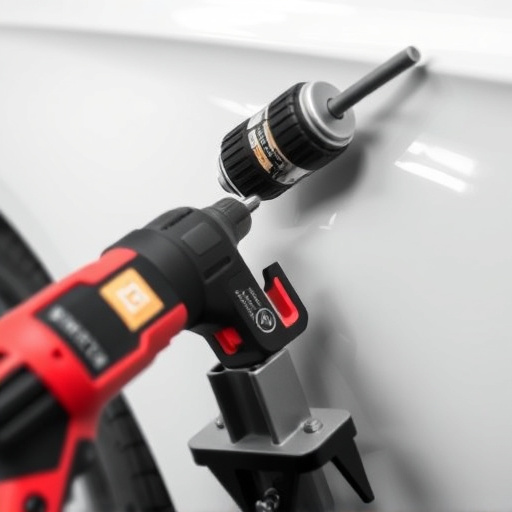
The repair process typically involves assessing the extent of damage, using specialized tools to pop out depressed areas, and then carefully matching and applying new composite material to fill in gaps or replace damaged sections. This might be followed by sanding, priming, and finally, painting to match the car’s original finish. While some basic repairs can indeed be done at home, for more complex damages, seeking professional auto body services is recommended to ensure a flawless and safe repair that preserves the vehicle’s structural integrity. Remember, proper alignment and safety standards are crucial during the repair process.
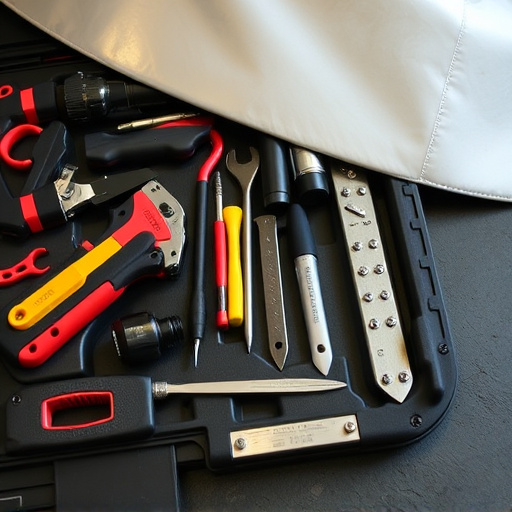
Tools and Materials Needed for DIY Flexible Bumper Repair

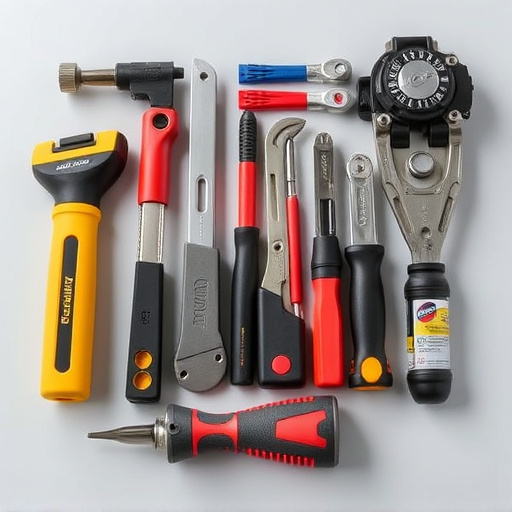
Before tackling a flexible bumper repair yourself, ensure you have all the necessary tools and materials. This typically includes a set of basic automotive tools such as jack stands, wrenches, sockets, and screwdrivers for disassembling the damaged area. Also, gather safety gear like gloves and eye protection to safeguard against sharp edges and debris. For the actual repair, you’ll need a flexible bumper kit that includes pre-cut pieces designed to fit your vehicle model, along with adhesive and possibly primer if you plan to paint over it afterward. Some DIYers also opt for auto painting supplies if they intend to match the existing color or change the bumper’s look entirely, which can be achieved through collision repair techniques using the right tools and expertise.
Step-by-Step Guide to Conducting a Successful Flexible Bumper Repair at Home

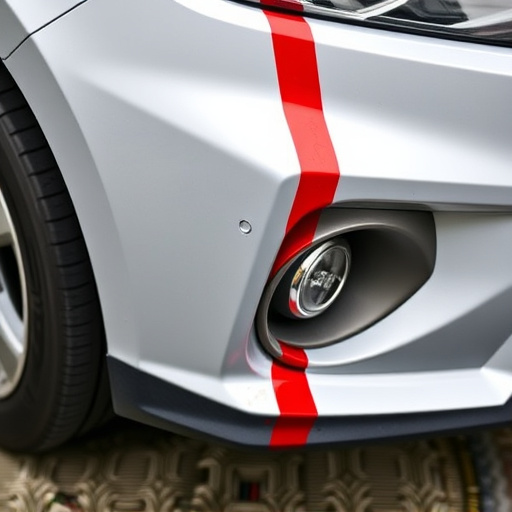
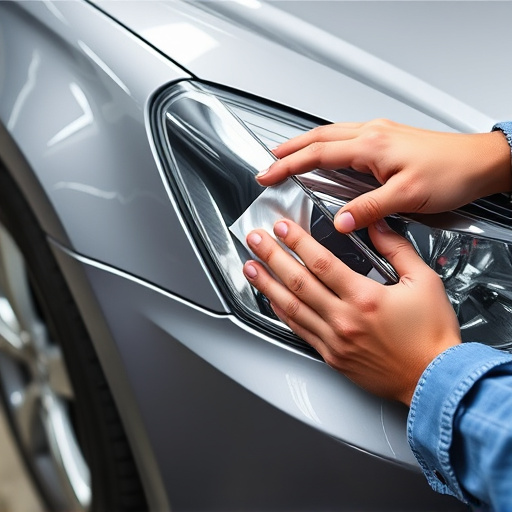
Conducting a flexible bumper repair at home can be a cost-effective and convenient solution for minor bumps and scratches. Before beginning, gather the necessary tools and materials, including a flexible bumper repair kit, which typically includes adhesive, primer, and paint. Start by cleaning and inspecting the damaged area to ensure it’s free of dirt and debris. Using a scraper or sandpaper, lightly sand the surface to create a rough texture, allowing the adhesive to better adhere.
Next, apply an even coat of primer, letting it dry completely. This step ensures a smooth finish and promotes better paint adhesion. After the primer is dry, apply the flexible bumper repair material according to the kit’s instructions. Be patient during this process, ensuring no bubbles or wrinkles form in the material. Once the repair material is in place, allow it to cure fully before applying a final coat of paint that matches your vehicle’s color. This meticulous approach can help you achieve a professional-looking repair, saving you the trip to a vehicle body shop for minor car body repairs.
Considering flexible bumper repair yourself can save you time and money, but it requires careful planning and the right tools. If you’re comfortable with DIY projects and have a good understanding of the repair process outlined in this article, you may achieve successful results. However, for more complex damage or if you lack confidence in your abilities, seeking professional assistance is recommended to ensure a safe and durable fix for your vehicle. Remember, a successful flexible bumper repair can restore both the appearance and safety features of your car, making it a worthwhile endeavor for many vehicle owners.